
Home / Guides
How to Take Good Pictures of Yourself
You don't need a photographer, a fancy camera or a friend with patience. With the phone in your pocket and a few simple habits, you can take photos of yourself that look relaxed, sharp and genuinely like you. Here are 12 tips that make the biggest difference, in the order that matters most.
1. Face the light
Light does more for a photo than any other single thing. The easiest good light is a window: stand facing it, a step or two back, so soft daylight falls across your face. It smooths skin, brightens your eyes and adds a little sparkle (photographers call it a catchlight).
Avoid the two common traps. Overhead ceiling lights cast shadows under your eyes and nose, and standing with a bright window behind you turns you into a dark silhouette. Outdoors, the hour after sunrise and the hour before sunset give warm, flattering light. At midday, find open shade, like the shadow of a building, rather than standing in direct sun.
2. Use the back camera and a timer
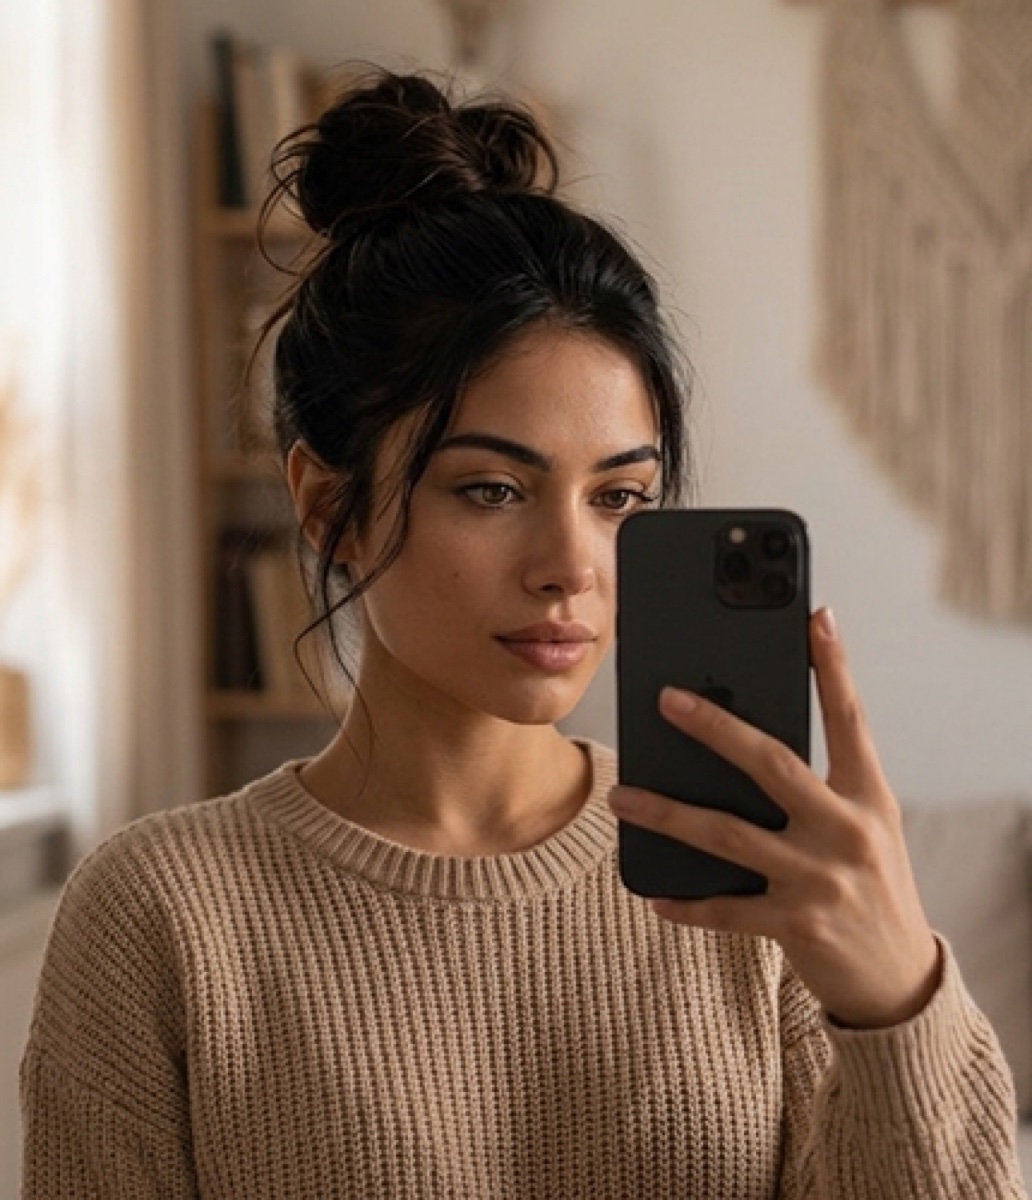
Your phone's rear camera is almost always sharper and better in low light than the front one. Prop the phone against something steady (a stack of books, a shelf, a cup, or a cheap phone tripod), set the self-timer to 3 or 10 seconds, and step into place.
To make it even easier, most phones let you trigger the shutter with the volume button on wired or Bluetooth earphones, a palm gesture, or a voice command. A small Bluetooth remote costs very little and means you never have to run back and forth.
3. Get the camera height right
Where the camera sits changes how you look more than most people expect:
- Head and shoulders: keep the lens at eye level or slightly above. Too low and the camera looks up your nose; too high and you start to look small.
- Full body: set the phone around waist or hip height and keep it straight, not tilted. This keeps your proportions natural and makes legs look longer.
- Sitting: bring the camera down to roughly chest height so you're not looking up at it.
4. Step back and zoom in a little
Phone cameras use a wide lens. Hold one close to your face and whatever is nearest, usually your nose, looks bigger than it really is. That's a big part of why people feel they "look different" in selfies.
The fix is distance. Place the phone a little further away and use the 2x (or 3x) setting, or crop in afterwards. Your features stay in natural proportion, and the background softens slightly too.
Quick check: if your arms look short and your face looks wide, the camera is too close. Take two steps back and zoom to 2x.
5. Pick a calm background
A messy room, a bin, or a busy street sign behind your head will pull attention away from you. Before you shoot, look past yourself on the screen and tidy or move what you can. Plain walls, greenery, open sky and textured surfaces like brick or wood all work well.
Then step a metre or two away from the wall. A little distance between you and the background adds depth and stops your shadow landing right behind you.
6. Leave room around you
Turn on your camera's grid lines (usually in the camera settings). Instead of always placing yourself dead centre, try lining your eyes up with the top third of the frame. Leave a little space above your head, and don't crop at a joint like the knees, wrists or ankles, which looks accidental. If you're cropping, cut mid-thigh or mid-arm instead.
Shoot a little wider than you think you need. You can always crop in later, but you can't add back the top of your head.
7. Lock focus and exposure on your face
Tap your face on the screen to focus there. On most phones, pressing and holding locks it, so the camera won't hunt for focus while you move into position. Slide the brightness control up or down a touch if your face looks too dark or washed out.
8. Wipe the lens
It sounds too simple to matter, but a fingerprint on the lens is the most common reason phone photos look hazy and glowy around lights. Give it a quick wipe with a soft cloth or the inside of your shirt before every session.
9. Turn your body slightly
Standing square to the camera can look stiff. Turn your body about 30 to 45 degrees away, then turn your face back towards the lens. Shift your weight onto your back leg and let your front knee bend softly. Push your chin very slightly forward and down to define your jawline. These small changes are the foundation of almost every good pose. Our guide on how to pose for photos goes deeper, with standing, sitting and group poses.
10. Give your hands something to do
Hands hanging by your sides are where awkwardness shows first. Hold a coffee, slip a thumb into a pocket, touch the strap of a bag, brush your hair back, or rest a hand lightly on your hip. Keep a small gap between your arms and your waist so your shape reads clearly.
11. Take lots of shots and keep moving
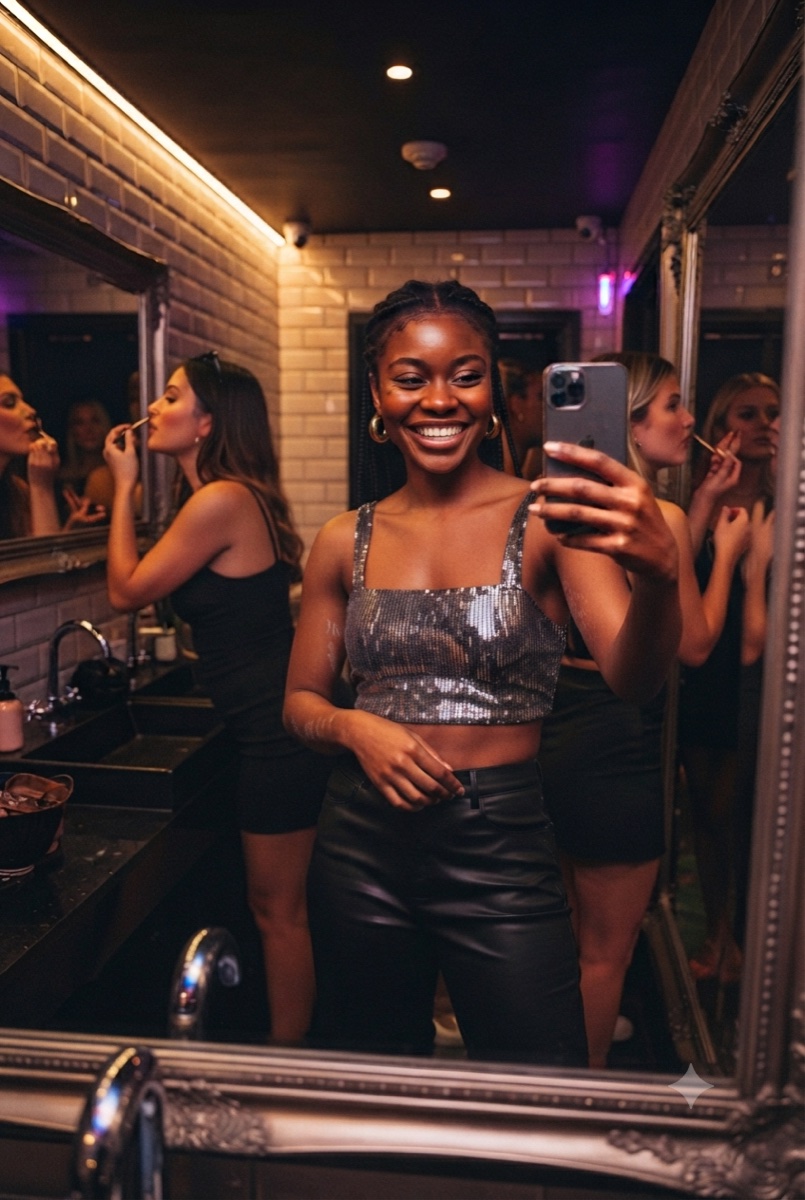
Professional photographers take dozens of frames to get one keeper. Do the same. Use burst mode or the timer's multi-shot setting, and move slightly between frames: turn your head, shift your weight, laugh, look away and back. Breathe out just before each shot, which relaxes your shoulders and face.
Natural smiles come from real moments. Think of something funny, or say a word that makes you smile rather than saying "cheese".
12. Edit lightly
A good edit makes a photo look like a better version of the moment, not a different person. Straighten the horizon, crop to tidy the frame, lift brightness a little and add a touch of contrast. Go easy on smoothing and face reshaping filters. The goal is a photo your friends recognise instantly.
Common questions
How do I take good pictures of myself without a tripod?
Lean your phone against anything steady at the right height: books on a table, a window ledge, a wall, or a bag on a bench. Use the self-timer or a voice command so you don't have to touch the phone, and check the first shot to adjust the angle.
Why do I look different in photos than in the mirror?
Two reasons. First, the mirror shows you flipped, which is the version you're used to, while a photo shows you as others see you. Second, phone lenses are wide, so holding one close exaggerates whatever is nearest the camera. Moving the phone further away and zooming in slightly helps a lot.
Should I use the front or back camera?
The back camera gives sharper, cleaner photos, especially indoors or in dim light. The front camera is handy for quick selfies because you can see yourself. If the photo matters, use the back camera with a timer.
What is the most flattering angle for photos?
For most people: camera at eye level or slightly above, body turned a little to the side, face turned back towards the lens, and chin pushed slightly forward. Everyone has a side they prefer, so try both and see which you like.
How do I look natural in photos of myself?
Keep moving between shots, breathe out before each one, and give your hands something to do. Taking many frames means you stop performing for any single one, and that's when relaxed photos happen.
Let your phone coach you
SnapCoach is a new app that shows you the shot first, then guides you into it with your own camera, one simple tip at a time: "Tiny step left", "Lift your phone slightly", "Perfect." When you take the photo, SnapCoach gives it a studio finish while keeping your face and body exactly as they are. It's still undeniably you, just your best photo. Join the waitlist and we'll tell you the moment it launches.